Tuesday, January 17, 2012

Blood Orange Olive Oil Cake

Baking is not my first love.  Cooking is.  And there is a difference.  Baking is chemistry and cooking is alchemy :)  Since I never did well in the sciences in school, I gravitate toward cooking where the preparation of dishes need not be too exact.  In baking, it's a different story.  But I do like to bake when I find a recipe that really excites me.  And this one did.  My friend Linda passed it on to me and I made a few of these for Christmas presents this year.  This is one D.E.L.I.C.I.O.U.S cake!  Seriously.  It comes from the book In the Kitchen with A Good Appetite: 150 Recipes and Stories About the Food You Love, by Melissa Clark.  I didn't have blood oranges but good navel oranges work just as well.  I do hope you try this one.  Actually, next time I make it, I'm going to use lemons in place of the oranges.  I'll let you know how it turns out.

Blood Orange Olive Oil Cake


3 blood oranges
1 cup sugar
Buttermilk or plain yogurt
3 large egs
1 3/4 cups all purpose flour
1 1/2 teaspoons baking powder
1/4 teaspoon baking soda
1/4 teaspoon salt
2/3 cup extra virgin olive oil (I used light olive oil)

Preheat the oven to 350F.

Grease a 9 x 5 inch loaf pan.  I used a decorative Bundt pan and it looked real pretty.

Grate the zest from 2 oranges and place in a bowl with the sugar.  Using your fingers, rub the ingredients together until the orange zest is evenly distributed in the sugar.


Supreme an orange:  Cut off the bottom and top so the fruit is exposed and the orange can stand upright on a cutting board.  Cut away the peel and pith following the curve of the fruit with your knife.  Cut the orange segments out of their connective membranes and let them fall into a bowl.  Repeat with another orange.  Break up the segments with your fingers.  Halve the remaining orange and squeeze the juice into a measuring cup.  You'll have about 1/4 cup or so.  


Add the buttermilk or yogurt to the juice until you have 2/3 cup of liquid together.  Pour the mixture into the bowl with the sugar and whisk well.  Whisk in the eggs.  


In another bowl, whisk together the flour, baking powder, baking soda and salt.  Gently whisk the dry ingredients into the wet ones.  Switch to a spatula and fold in the oil a little at a time.  Fold in the orange segments.  Scrape the batter into the pan and smooth the top.


Bake the cake for about 50-55 minutes, or until it is golden and a knife inserted into the center comes out clean.  Cool on a rack for 5 minutes then unmold and cool to room temperature, right side up.


Serve with whipped cream, powdered sugar or Honey-Orange Compote*, if desired.


*Honey-Orange Compote - supreme 3 more oranges.  Drizzle in 1-2 tablespoons honey.  Let sit for 5 mintes, then stir gently.

Buon Appetito!

Sunday, January 15, 2012

Garden Blog Bloom Day

There isn't much blooming in my South Texas garden this winter.  But my Christmas cactus is a totally different story.  Here it is in its full glory!


If you go back to Christmas of 2009 when I first posted about this special plant, you can see how much it has grown in just a couple of years!  Very cool for me to see :)

Friday, January 13, 2012

Something to Think About

I received this message in an email this week and thought it is too good not to share.  It has nothing to do with gardening or cooking but everything to do with life itself.  Too often we question our lives, what we are doing, why things happen to us, what does it all mean.  To me, this sort of sums it up.

"May today there be peace within.  May you trust that you are exactly where you are meant to be.  May you not forget the infinite possibilities that are born of faith in yourself and others.  May you use the gifts that you have received and pass on the love that has been given to you.  May you be content with yourself just the way you are.  Let this knowledge settle into your bones and allow your soul the freedom to sing, dance, praise and love.  It is there for each and every one of us."  


Tuesday, January 10, 2012

New Year Noodle Soup

Ok...the only thing I have to say is...Make This Soup Now.   Seriously.  This is one of the best soups I have ever eaten.  It's hearty, tasty, healthy, nutritious and really pretty easy,  I pretty much followed the recipe exactly as written and my husband loved (loved) it too!

I saw this recipe on the 101cookbooks.com website a while back and thought it looked good.  So I bookmarked it.  Then thegdkitchen blogged about it and I went back and looked at the recipe again and thought, "OK, I think I'll make this soup for New Year's Day."  And I am so glad I did.  It is delicious!  I'm not even going to retype the recipe.  If you want to make it (and I hope you do!), here is the link to it on 101cookbooks.com.


I usually annotate recipes in my books or ones that I've downloaded so I can keep track of whether I liked them or not.  And on this one I simply wrote:  Yummy! Yummy! Yummy!

And to be honest, I ate most of it with a fork!


Buon Appetito!

Saturday, January 7, 2012

Great New Resource

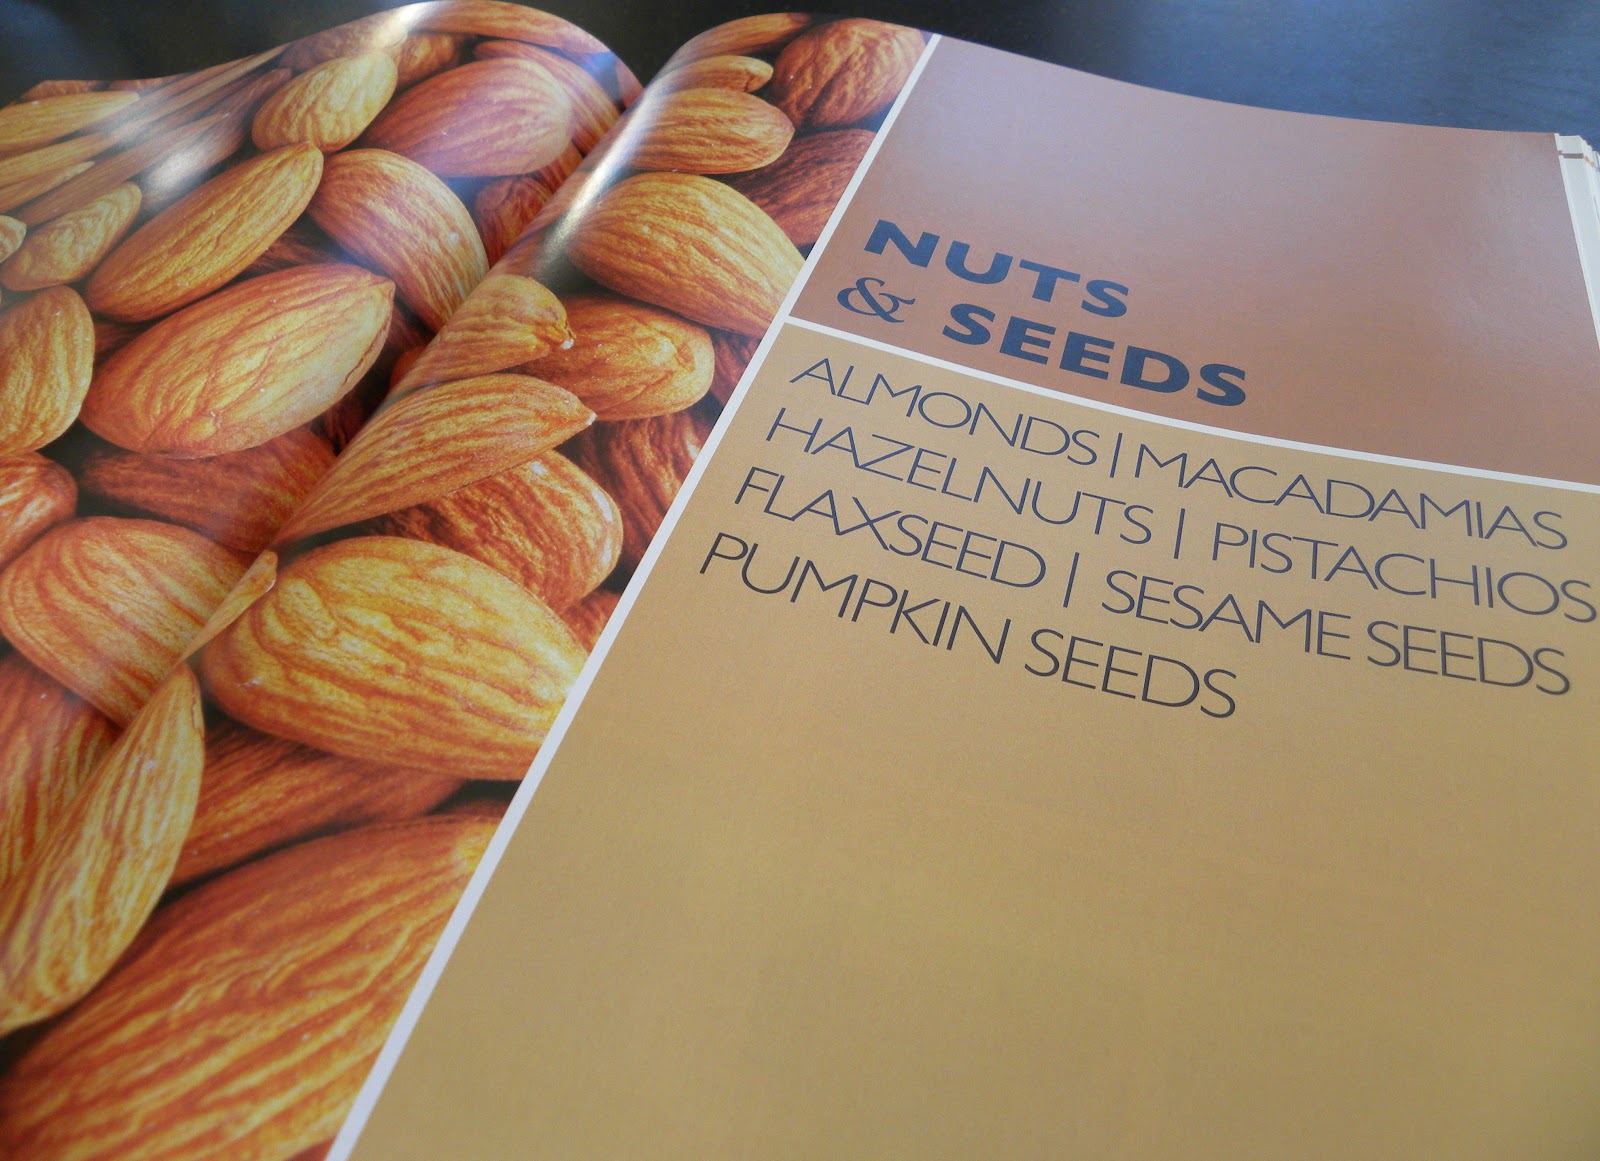
I love food.  I love every thing about it.  I love growing it, talking about it, working with it, reading about it, learning about it, etc.  For Christmas this year I receive a wonderful new food resource book.  It's called The Illustrated Cook's Book of Ingredients, 2500 of the world's best with classic recipes.  It was given to me by my daughter-in-law Katie (who writes the fab food blog, thegdkitchen) and my son Mike.  And I love it!  Besides my new MacBook Pro, (and my son returning safely home), it was the best present under my tree :)


It has a beautifully written introduction and is organized by main food categories:  


The meat chapter (as well as the other main chapters) is further broken down into sub categories, very organized, well laid out and super easy to navigate and find exactly what you are looking for.


It even has sections on obscure, but important, ingredients, such as Offal, better known as organ meats.  


The book is co-written by 20 expert food consultants (only one of whom is male..heehee :), award winning writers, chefs, home economists, cooking school owners and artisan cheese makers.  

In addition to being beautifully photographed, each chapter is organized by ingredient, then how to Buy, Cuts, Store, Eat, Flavor Pairings and Classic Recipes, for that particular ingredient.  

This book is a great addition to my food/cooking resource library.  This definitive cook's bible answers every question one could possibly have on choosing and using ingredients.  If you are looking for a great book for the food enthusiast in your life (of if you are one), this is your book.  And it's available on Amazon.  Here's the link:


Thank you Mike & Katie! :)


Wednesday, January 4, 2012

Meyer Lemon Marmalade


This is a first for me and it's a huge leap out of my comfort zone in the kitchen...making marmalade.  I've never made marmalade or any type of jelly/jam/preserves before so this a big deal.  At least for me it is :)

The lemons on my tree are very (very) ripe and I need to use them quickly.  Aren't they gorgeous?  And they are huge!


So I searched online for a marmalade recipe that looked quick and easy and I found this one on Epicurious and thought I'd give it a try.  To be honest, I was astonished (and quite proud actually) at my results :)

I made a double batch of this recipe.  I didn't double it; I made 2 separate batches at the same time.  In reading some of the reviews, many said doubling it will turn the mixture dark and cloudy and doubling it throws off the ratios.  So I just did it twice :)


Meyer Lemon Marmalade
6 Meyer lemons (1 1/2 pounds)
4 cups water
4 cups sugar

Special Equipment
Cheesecloth
Kitchen string
12 (1/2 pint) Mason-type jars, sterilized

Halv lemons crosswise and remove seeds.  Tie seeds in a cheesecloth bag.  Quarter each lemon half and thinly slice.  Combine with bag of seeds and water in a 5-quart heavy pot and let mixture stand, covered at room temperature 24 hours.


Bring lemon mixture to a boil over moderate heat.  Reduce heat and simmer, uncovered, until reduced to 4 cups, about 45 minutes.  Stir in sugar and boil over moderate heat, stirring occasionally and skimming off any foam, until marmalade measures 212F degrees on a candy thermometer, or until a teaspoon of mixture dropped on a cold plate gels, about 30 minutes (or could be longer too).


Ladle hot marmalade into jars, filling to within 1/4 inch of top.  Wipe rims with dampened cloth and seal jars with lids.  It was difficult to take pictures during this process...dealing with boiling hot water, scaldingly hot marmalade, very hot, sterilized jars, yadayadayada...you get the point :)

Put jars in a water-bath canner or on a rack set in a deep pot.  Add enough hot water to cover jars by 1 inch and bring to a boil.  Boil jars, covered, for 5 minutes and transfer with tongs to a rack.  Cool completely and make sure the jars seal.  You can tell they've sealed if you hear the lid being "sucked" onto the jar or if you see the tiny seal in the center of the lid concave in.  Look at these little jewels!  They made great Christmas presents this year :)


Let cool completely and store in a cool dark place for up to a year.  Refrigerate after opening.  Some ways to use the marmalade:  stir into plain yogurt or oatmeal; spread on good artisan crackers for a quick snack; slather on toast and top with a sliced banana; drizzle it over the top of a lemon cake or my simple favorite:  slather a bunch on good toasted bread :)


 What other ways can you think of to use this golden treat?

Buon Appetito!


Wednesday, December 28, 2011

North Carolina Sunset

I took these pictures on Christmas Eve night off a shoreline in North Carolina while waiting for my son to arrive home from his deployment.  It was truly a magical sunset and the prettiest one I think I've ever seen.


Happy New Year to all and many thanks for visiting me over the past year.  I pray for good sense to prevail in our leaders as we struggle to keep the world balanced, safe and prosperous for all.  Blessings to all for love, good health, happiness and warm family time in this New Year.

My Son is Home!

Yes indeed...he arrived home safely late Christmas Eve Day and I cannot think of a finer Christmas present :)  He looks great!  And he is so very happy to be home with his family.  And so are we:)  Katie's brother was present at the actual homecoming and he took some wonderful photographs.  Katie was kind enough to let me share some of them.  Mike and Katie really are as happy as they look :)

Eagerly waiting...

Finally!

Look at that little foot sticking out between them :) 

Michael...remember Daddy :) 

Ya, I do remember you :)

 The sweetest picture

 A beautiful family reunited :)

Many thanks to all of you for your good wishes and prayers for my son and his family during this deployment.  God answered them and brought Mike safely home.  For this and so many other blessings in my life, I am grateful.